
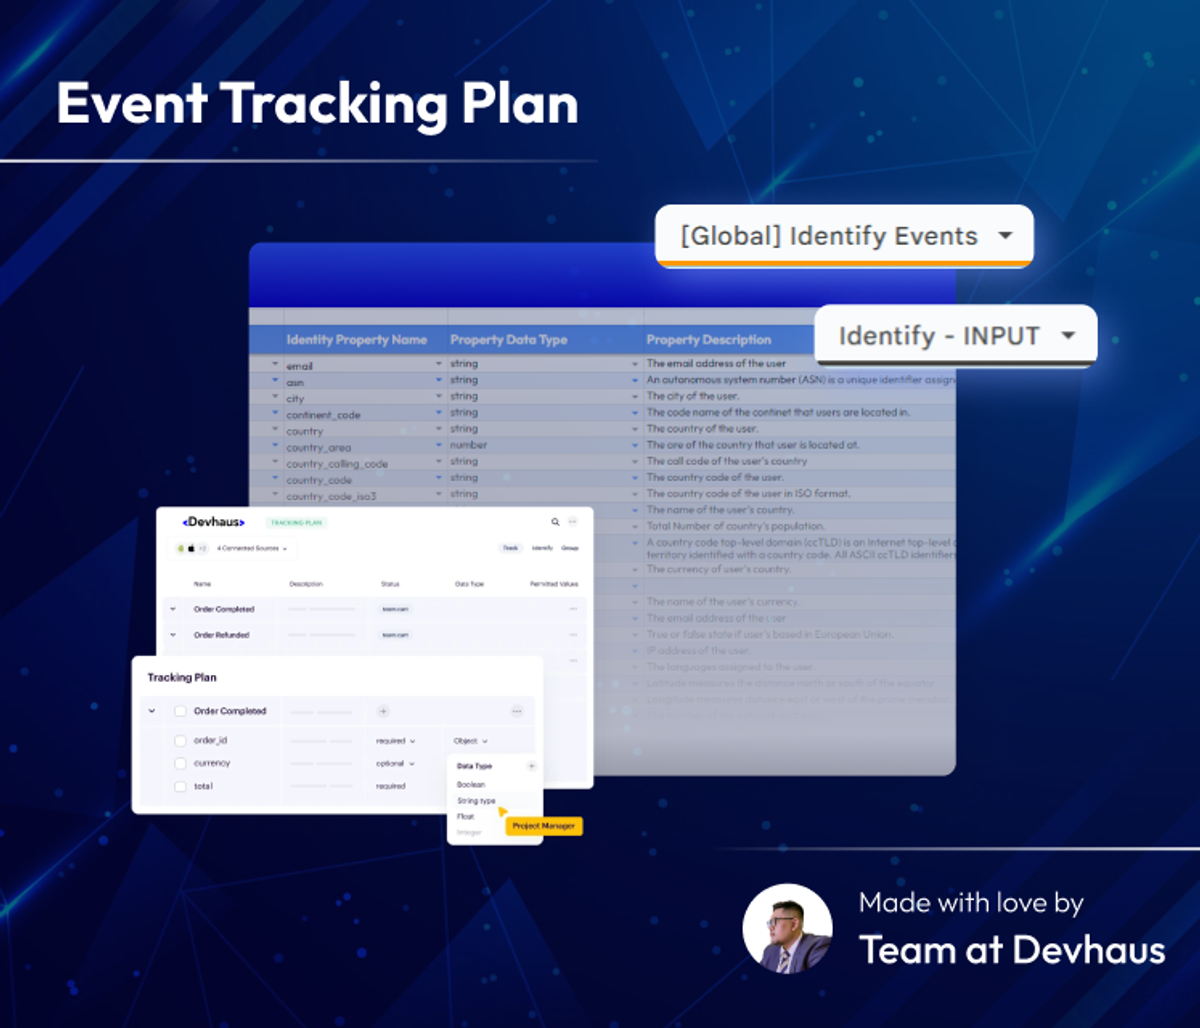
Overview
Welcome to the comprehensive documentation for Event Tracking Plans with Admiral Systems! 🚀 Whether you're a seasoned developer, a meticulous product manager, or a curious tech enthusiast, this guide is designed to empower you with the knowledge and tools needed to master event tracking within the Admiral Systems Martech ecosystem.
What is an Event Tracking Plan?
An Event Tracking Plan is the backbone of understanding user interactions within your software applications. It serves as a strategic blueprint that outlines the events, actions, and behaviors you want to capture, measure, and analyze. With Admiral Systems, creating and implementing a robust Event Tracking Plan becomes not only a seamless process but a catalyst for informed decision-making.
Why Admiral Systems?
Admiral Systems takes event tracking to a new level, offering powerful solutions crafted by industry-leading experts. Our documentation is designed to be your compass, guiding you through the nuances of creating, managing, and optimizing your Event Tracking Plans effectively.
Understanding the Core Fundamentals
Event Naming Convention
When it comes to data collection, the best way to set your company up for success is to establish consistent naming conventions from day one. This will not only make it easier to read your code, but it will also mean that everyone at your company can easily understand what your events mean.
Read the best practice ➡️click here
Track
The Track API call is how you record any actions your users perform, along with any properties that describe the action.
Each action is known as an event. Each event has a name, like User Registered, and properties. For example, a User Registered event might have properties like plan or accountType. Calling Track in one of our sources is one of the first steps to getting started with Segment.
View code example
analytics.track('Home Page Viewed',
{ metadata: { utm_campaign: null, utm_medium: null, utm_source: 'direct' }, path: '/' });
Read more with Segment Track API guide ➡️ click here
Identify
The Segment Identify call lets you tie a user to their actions and record traits about them. It includes a unique User ID and any optional traits you know about the user, like their email, name, and more.
View code example
{
"type": "identify",
"traits": {
"name": "Peter Gibbons",
"email": "peter@example.com",
"plan": "premium",
"logins": 5
},
"userId": "97980cfea0067"
}
Read more with Segment Identify API guide ➡️ click here
Admiral Systems Tracking Code for GA4
Admiral Systems Tracking Code is a helper code snippet that helps Webflow developers mainly to implement Segment events and send them to multiple destinations (e.g. Google Analytics, Facebook Pixel, etc.) without having to write any code. It also supports Google Analytics 4 if the client opts out to track events without Segment in place.
Prerequisites
You are expected to understand these topics beforehand:
- Entry-level Javascript (Variable Definition and Basic Data Types i.e. String, Integer, Float, etc.)
- Webflow
- Different types of HTML Code Snippets and different types of scopes
- Global-level/on all pages
- Page-level
- Component-level
- Custom Attributes
Watch the tutorial video

Be sure to watch our tutorial walkthrough, good luck implementing!!
- A Step-by-Step Guide on Implementing Admiral Systems Tracking Code in Webflow ➡️ click here
- A Comprehensive Tutorial on Management and Updates Event Tracking Plan ➡️ click here
- How to do event tracking for Track Events ➡️ click here
- How to do event tracking for Identify Events [Part 1] ➡️ click here
- How to do event tracking for Identify Events [Part 2] ➡️ click here
Full documentation on Github
View our full documentation on Github with the link below.
Read the documentation and guide ➡️ click here
Enable Google Analytics 4 (GA4)
To enable Google Analytics support (bypassing CDP), you need to add the ga4 attribute and put your measurement ID as the value:
<script
id="as-tracking-code"
defer
production-domain="example.com"
staging-domain="example.webflow.io"
ga4="G-XXXXXXXXXX"
>
</script>
To enable GA4 DebugView, you need to add the ga4-debug-mode attribute and put true as the value: NOTE: This feature is unstable and may not work as expected.
<script
id="as-tracking-code"
defer
production-domain="example.com"
staging-domain="example.webflow.io"
ga4="G-XXXXXXXXXX"
ga4-debug-mode="true"
>
</script>

